Testing API callback responses is a crucial step in ensuring your application works seamlessly with third-party services. Beeceptor is a powerful tool that helps you mock and inspect these callbacks without needing your actual production endpoint to be available.
In this guide, we will walk you through the steps to use Beeceptor for testing Pay Hero Kenya API callback responses.
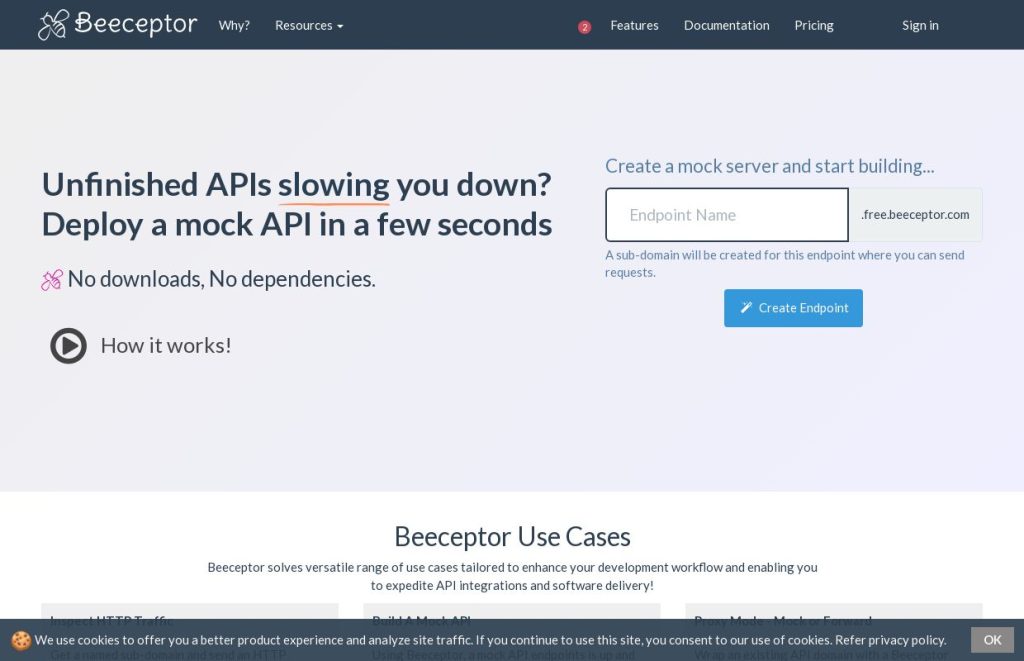
Step 1: Create a New Endpoint on Beeceptor
- Sign Up: Visit Beeceptor and sign up for a free account. Log in to your dashboard.
- Create a Mock Server: Look for the “Launch a mock server now!” section.
- Name Your Endpoint: Enter a name for your project (e.g.,
payhero-test). Your dedicated endpoint will look like:https://payhero-test.free.beeceptor.com. - Launch: Click “Create Mock Server” to activate the URL.
Step 2: Configure Your Beeceptor Endpoint
- Inspect Requests: Under the Requests tab, Beeceptor will list all incoming traffic. This allows you to see the headers and JSON payload sent by Pay Hero in real-time.
- Set Up Rules (Optional): If you want to simulate specific server responses (like a
200 OKor a500 Error), go to the Rules tab to define how Beeceptor should respond when it receives a callback.
Step 3: Update Pay Hero to Use the Beeceptor URL
There are two ways to tell Pay Hero where to send your transaction data:
- Via API Request: In your API request body, set the
callback_urlparameter to your Beeceptor URL (e.g.,https://payhero-test.free.beeceptor.com). - Via Account Settings (Universal): * Log in to app.payhero.co.ke.
- Navigate to Account Menu > Update Account.
- Enter your Beeceptor URL in the Callback URL field and save. Note: Use this if you want all account transactions to hit the same test endpoint.
Step 4: Trigger and Verify the Callback
- Initiate a Transaction: Perform an action on Pay Hero that triggers a callback, such as initiating an STK Push or a test payment. Refer to the Pay Hero Developer Docs for specific API calls.
- Check Beeceptor: Switch back to your Beeceptor dashboard. You should see a new entry appearing in the “Requests” list.
- Verify Data: Click the request to view the payload. Ensure the transaction details (Amount, Phone Number, Reference) match what you expect.
Step 5: Simulate Different Scenarios (Optional)
To ensure your app is robust, you should test how it handles failures:
- Go to the Rules tab in Beeceptor.
- Modify the response to return a
400 Bad Requestor a specific error message. - Re-trigger the callback from Pay Hero to see how your system reacts to the error.
Beeceptor is an essential tool for developers who want to build and debug integrations without the headache of setting up public-facing servers during the early stages of development. By following these steps, you can ensure your Pay Hero integration is reliable and production-ready.
