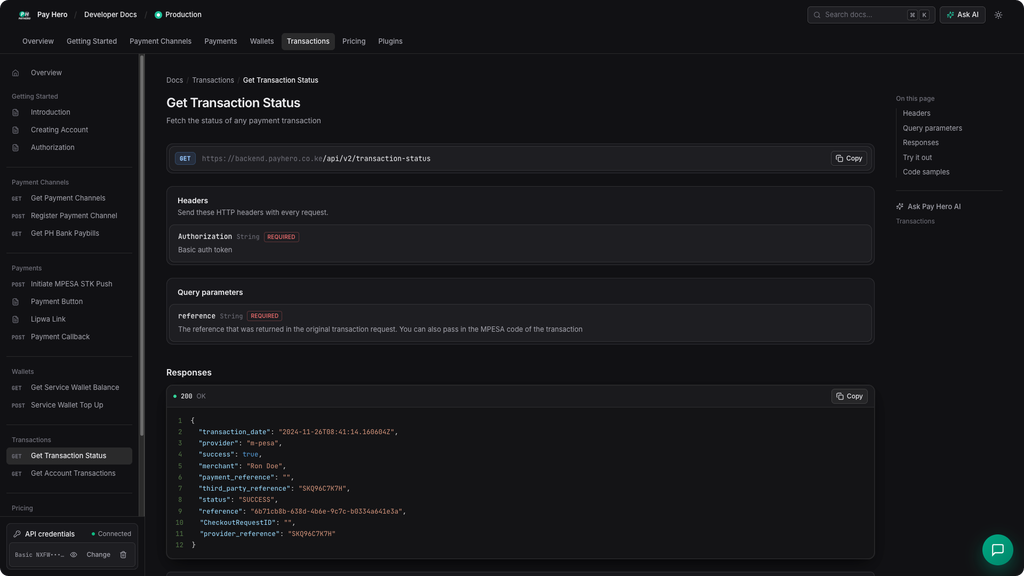
Integrating M-Pesa payments into your web or mobile app is an essential milestone for any Kenyan business. However, moving from testing in a sandbox environment to accepting real payments in production can feel like navigating an endless bureaucratic maze.
In this guide, we’ll walk through the official step-by-step process of going live on Safaricom’s Daraja API to trigger your first STK Push—and then explore how you can skip almost all of this friction using Pay Hero.
Part 1: Going Live on Safaricom Daraja (The Manual Path)
Before you can send your first STK Push (Lipa Na M-Pesa Online prompt) using Daraja, you must complete a multi-stage onboarding process.
Step 1: Acquire Your M-Pesa Shortcode
You must first own an active business payment shortcode issued by Safaricom—either a Paybill or a Lipa Na M-Pesa Buy Goods Till Number.
- You apply for this directly via the Safaricom M-Pesa for Business Portal.
- You will need standard KYC documents: business registration certificate, CR12, director IDs, and tax compliance certificates.
Step 2: Request Your Operator Admin Profile
Having a shortcode isn’t enough; Daraja needs proof that you are authorized to link developer tools to that shortcode.
- Draft an official request letter on your company letterhead requesting an administrative profile.
- Email this letter to Safaricom support.
- Once processed, Safaricom generates your unique M-Pesa Operator Admin credentials and sends them back via email.
Step 3: Complete the “Go Live” Request on Daraja
- Log into your account on the Safaricom Daraja Developer Portal.
- Navigate to the Go Live section.
- Fill out the form with your exact M-Pesa shortcode, registered business name, and the M-Pesa Admin username you received in Step 2.
- Submit the form and verify the action using the OTP sent to the business owner’s registered phone line.
Step 4: Retrieve Production Credentials & Passkey
- After submission, the request enters a approval queue (typically taking up to 24 hours).
- Once approved, your permanent production Consumer Key, Consumer Secret, and unique Passkey will appear under your Live Apps dashboard and be emailed to you.
Step 5: Making Your First STK Push Request on Daraja
Once you have your live credentials, executing an STK Push requires three backend operations:
1. Generate an OAuth Access Token
You must send a GET request using your Consumer Key and Consumer Secret encoded in Basic Auth.
curl -u "CONSUMER_KEY:CONSUMER_SECRET" \
  "https://api.safaricom.co.ke/oauth/v1/generate?grant_type=client_credentials"
2. Generate the Password Hash
Daraja requires a base64-encoded password created by concatenating:BusinessShortCode + Passkey + Timestamp (YYYYMMDDHHmmss)
3. Send the STK Push Request
With your access token and dynamic password ready, send a POST request to the Express Query endpoint:
curl -X POST "https://api.safaricom.co.ke/mpesa/stkpush/v1/processrequest" \
  -H "Authorization: Bearer ACCESS_TOKEN" \
  -H "Content-Type: application/json" \
  -d '{
    "BusinessShortCode": "174379",
    "Password": "MTc0Mzc5YmZiMjc5ZjlhYWJk...",
    "Timestamp": "20261012095600",
    "TransactionType": "CustomerPayBillOnline",
    "Amount": "1",
    "PartyA": "254712345678",
    "PartyB": "174379",
    "PhoneNumber": "254712345678",
    "CallBackURL": "https://yourdomain.com/callback",
    "AccountReference": "Order101",
    "TransactionDesc": "Payment for goods"
  }'
Part 2: The Fast Track — How Pay Hero Simplifies M-Pesa Integration
While Daraja requires manual email coordination, letterheads, wait times, custom base64 password hashing, and token handling, Pay Hero strips away all the operational headache.
With Pay Hero, you can accept M-Pesa payments through your existing Paybill or Till number in less than 10 minutes without waiting for Daraja approval or managing complex credentials.
       M-PESA DARAJA DIRECT                         PAY HERO PLATFORM
┌───────────────────────────────┐           ┌───────────────────────────────┐
│ 1. Apply for Business Shortcode│          │ 1. Sign up on Pay Hero        │
│ 2. Email letterhead to support│           │ 2. Link your Till or Paybill  │
│ 3. Wait for Admin credentials │           │ 3. Grab your API Key          │
│ 4. Submit Go-Live form & OTP  │           └───────────────┬───────────────┘
│ 5. Wait 24 hours for keys     │                           │
│ 6. Handle OAuth & Passkey hash│                           ▼
└───────────────┬───────────────┘                   [ Ready to Go! ]
                │
                ▼
        [ Ready to Go! ]
The 3-Step Pay Hero Process
- Sign Up & Create an Account: Register on the Pay Hero dashboard in under two minutes.
- Connect Your Shortcode: Link your existing Paybill or Lipa Na M-Pesa Till number directly from the dashboard—no letterheads or operator admin requests required.
- Trigger an STK Push with a Single Request: No access tokens to generate and no password hashes to construct. Send a clean API request using your API key:
curl -X POST "https://backend.payhero.kenya/api/v2/payments" \
  -H "Authorization: Basic YOUR_API_KEY" \
  -H "Content-Type: application/json" \
  -d '{
    "amount": 100,
    "phone_number": "0712345678",
    "channel_id": 1,
    "provider": "m-pesa",
    "external_reference": "INV-1001",
    "callback_url": "https://yourdomain.com/payhero-callback"
  }'
Why Developers & Businesses Choose Pay Hero
- Zero Wait Time: Go live immediately instead of waiting 24–48 hours for administrative approvals.
- Simplified API: Skip OAuth token management, base64 timestamp encryption, and XML/JSON conversion headaches.
- Unified Dashboard: Track transactions, view analytics, set up webhooks, and manage multiple channels from one place.
- Built-in Reliability: Intelligent retry mechanisms and automatic webhook deliveries ensure you never miss a payment confirmation.
Ready to Start Collecting M-Pesa Payments?
Don’t let bureaucracy slow down your launch. Whether you’re building an e-commerce platform, SaaS product, or mobile app, Pay Hero provides the developer-first infrastructure to get you paid instantly.
